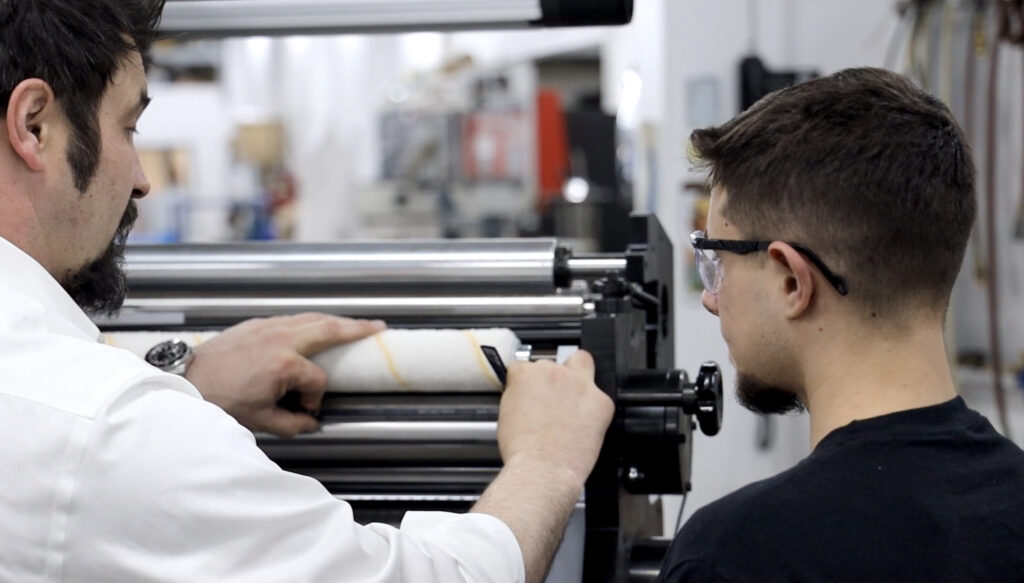
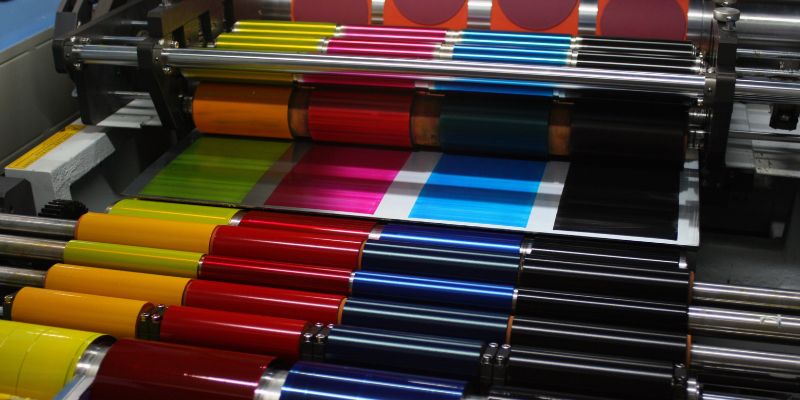
When you detect a printing defect from your flexo press, you ultimately lose time and money while the necessary adjustments are made to your machinery. We have identified some of the most common flexo printing defects and their causes, helping your business mitigate printing issues and helping lessen downtime.
Common Flexo Defects
There is a complex interaction of factors that commonly contribute to flaws in flexographic printing. The type of defect you are experiencing, and its cause depends on whether you are using a horizontal axis or a vertical axis.
The source of flexo print defects on a horizontal axis include:
-
- Cell volume
- Ink transfer
- Ink viscosity
- Contamination
- Plate swelling
- Pressure
- Press mechanics
- Anilox
- Drying speed
-
- Feathering
- Gear Marks
- Excessive Dot gain
- Halo
- Doughnuts
- Skip Out
- Bridging
- Filling In
- Misregistration
- Mottled Image
- Pinholing
- Dirty Print
</ul >
</ul > Vertical axis printing typically recognizes12 common defects that are in flexographic printing, and they include:
Causes of Flexo Defects
Once you can identify the type of printing defect and what is causing it, you can efficiently troubleshoot and correct the issue. While this list is not exhaustive, these are some common causes for flexo defects:
Feathering:
Appearance – Uneven edges to ink extending beyond the planned print area, often looking like hairlike projections of a feather.
Causes – Around dots, ink accumulates and unintentionally expands the printing surface area. It’s possible that there was excessive pressure applied earlier in the process between the anilox roll and print cylinder or between the print cylinder and the substrate.
Gear Marks
Gear marks are also known as banding and can be avoided with regular press monitoring and maintenance.
Appearance – Alternating dark and light lines that usually run perpendicular to the direction of the web on the press.
Causes – Gears that are not meshing correctly due to wear can cause bouncing and imbalance. Usually, gear mark issues can be heard by the operator and quickly resolved. Another common cause of gear marks is too much pressure and inadequate gear lubrication.
Excessive Dot Gain
Appearance – Images will appear less high-resolution and darker than intended. Dot gain of some degree happens in every print, when there is too much is when it is an issue.
Causes – There may be too much pressure between the substrate and the printing sleeve/plate/cylinder. Pressure levels are sometimes the cause as well.
Another potential reason is the employment of abrasive inks, solvents, or cleaning agents, which might result in thick or bloated sleeves or flexible printing plates. By selecting in-the-round (ITR) elastomer sleeves, which are incredibly strong and anti-swelling, you can prevent swelling.
Halo
Appearance – Ink extends beyond the borders of the substrate’s intended printing area.
Causes – Excessive or irregular pressure forces ink out with nowhere to go or mismatched speed from cylinder to web.
Doughnuts
Appearance – Distorted screen dots with blank spaces in the middle.
Causes – Pressure could be the cause of doughnuts, but cylinder or plate expansion is the most likely culprit. Inks and solvents that are aggressive can damage printed materials, causing them to distort and swell, rendering images virtually unrecognizable.
Switching to direct-laser-engraved (DLE) ITR elastomer casings with increased solvent resistance is a potential solution.
Skip Out
You must have superb ink transfer, and your substrate’s ink must completely wet out. Wobbling can cause printing issues due to the printing form making uneven contact with the substrate.
Appearance – Missing sections or areas with ink that is too light.
Causes – The print cylinder must contact the substrate seamlessly without any interference from vibration or movement or you run the risk of a skip out. Regular cleaning and maintenance can also help prevent this type of defect.
Bridging/Filling In
Bridging and filling in are usually counted as two separate categories, but they are so similar they can be deemed as one.
Appearance – Letters and other intricate areas in graphics blend, resulting in a low-resolution, low-quality image. In bridging, closely dispersed design elements are irregularly connected. In the process of filling in, surplus ink accumulates in areas that were not intended to be printed.
Causes – Excessive pressure causes the ink to be pushed where it is not supposed to be.
Misregistration
To achieve a high level of flexographic quality, ink combinations must be precisely aligned on the substrate. The smallest misalignment can cause your design accuracy and color patterns to be flawed.
Appearance – Color shifting, misalignment of design elements, cracking between colors, or blurry prints.
Causes – Improper plate orientation or position is the most common cause. Other causes can include the condition of the gears, substrate tension, etc.
Mottled Image
This type of defect mostly affects industries that require a lot of solid color imagery on their packaging. It is usually caused by ink not fully wetting out on the substrate.
Appearance – Unevenness in print density and hue/shade variations are detectable in areas intended to be a solid color. This appears bumpy and resembles an orange rind in appearance.
Causes – Variations in print density are the result of poor ink transmission between the image carrier, anilox, and substrate. Typically, this involves selecting an anilox with the appropriate cell count/volume and ensuring that all ink-transferring elements on your press have been thoroughly cleaned.
Pinholing
Appearance – Small pinhole-sized spots that did not get printed.
Causes – A dirty anilox or ink drying too fast are the most common causes. It is important to ensure proper cleaning of your anilox before the print runs.
Dirty Print
Appearance – Dot gain or flecks in the ink that give it a messy appearance.
Causes – Typically dirt is the culprit here. Operating machinery creates static electricity which can attract airborne contaminants such as dust or dirt to your anilox, ink, substrate, and image carrier. While there are many potential causes for dirty print, dirt is the most common.
How to Avoid Flexo Defects
To avoid the inconvenience of flexo printing defects, it is important to take the necessary steps to ensure your flexo press and all components are working properly. Regular monitoring and maintenance are critical steps in avoiding the downtime that occurs when your flexo press is producing defects.
Additional things to keep in mind that will help reduce the risk of flexo defects are:
-
-
-
- Ensure you are using the correct ink for your substrate
- Make sure the viscosity of your ink is correct
- Adjust your plate’s calibration
- Ensure your anilox cell volume is correct
- Thoroughly clean plates and printing equipment
</ul > Reach out to an experienced flexo printing and
-
-
-
-
-
- if you are experiencing any flexo printing defects. We can troubleshoot and work through the most common causes, so you have less downtime and more efficient productivity.
-
-
Tamarack® Products has been delivering customizable, scalable web-finishing equipment for over 50 years. We offer specialized in-line and off-line web finishing solutions for use with flexible printing presses for increased efficiency and high-quality printing. Contact us today to learn how to improve your flexo printing efficiency.


